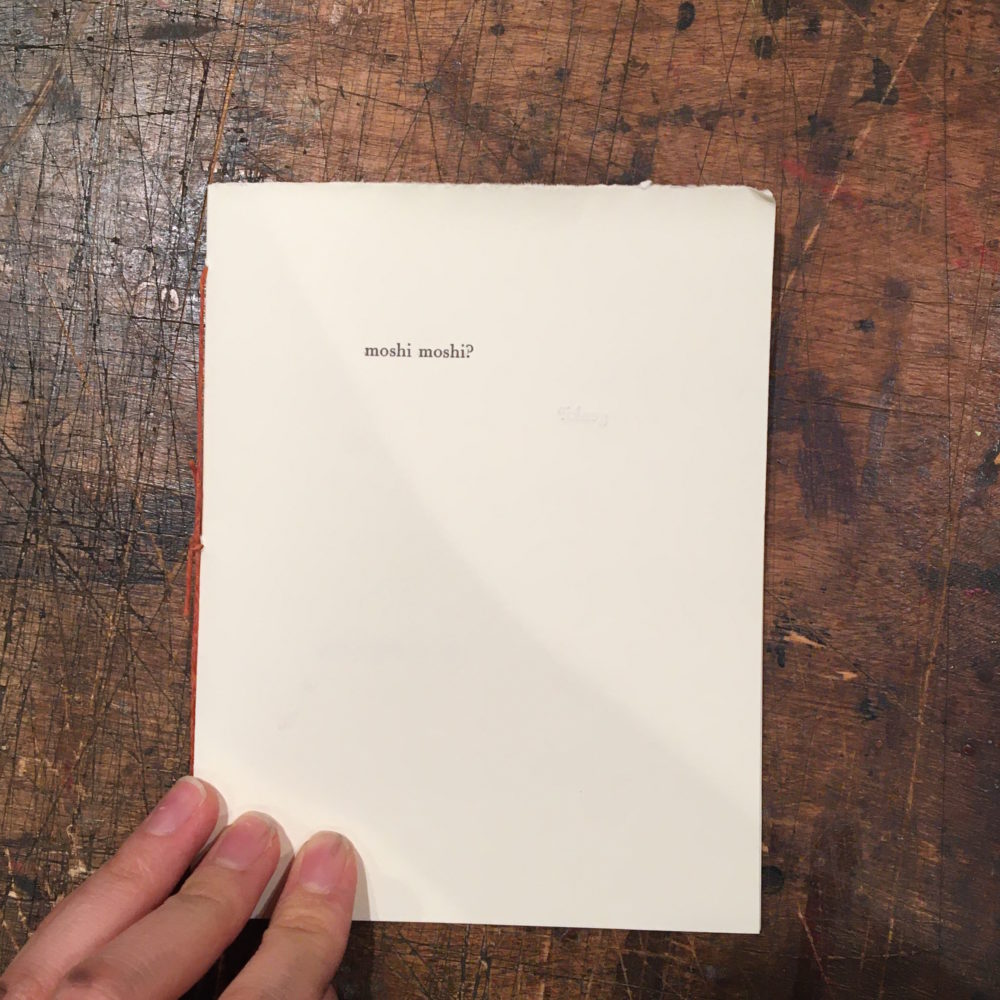
A quarto book is a great gift to give to friends and family for the holiday season! It’s very easy to make, yet demonstrates an art and skill that anyone would be impressed by and appreciate.
What is a quarto?
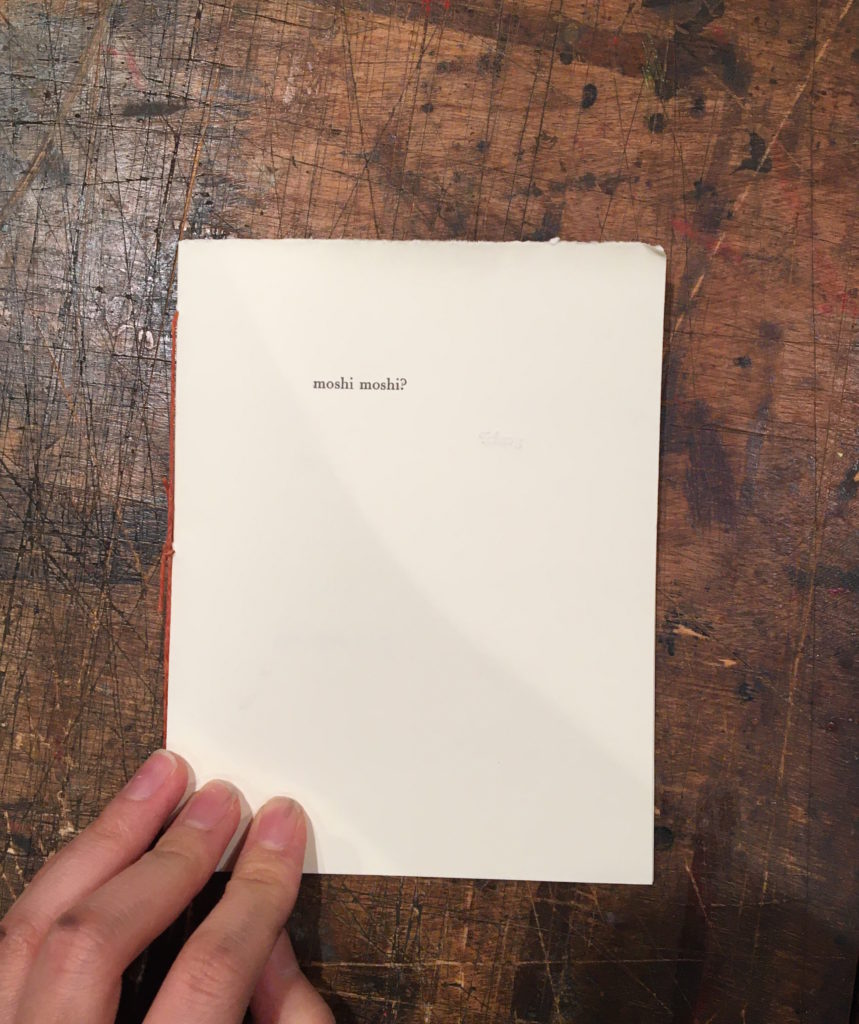
A quarto is an 8-page double-sided booklet, made by folding a single sheet of paper into four sections. The pages are then ripped along the folds to open into a booklet.
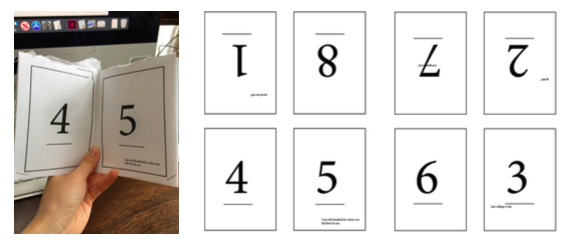
One of the most basic forms of the book, it used to be common for books to be made like this. Individuals would buy books with the pages still sealed, and then use a knife to break open the print. The earliest European print book using movable type is actually a quarto, a medieval poem called the Sibyllenbuch (or Book of the Sibyls), printed by Gutenberg in 1452.
Paper
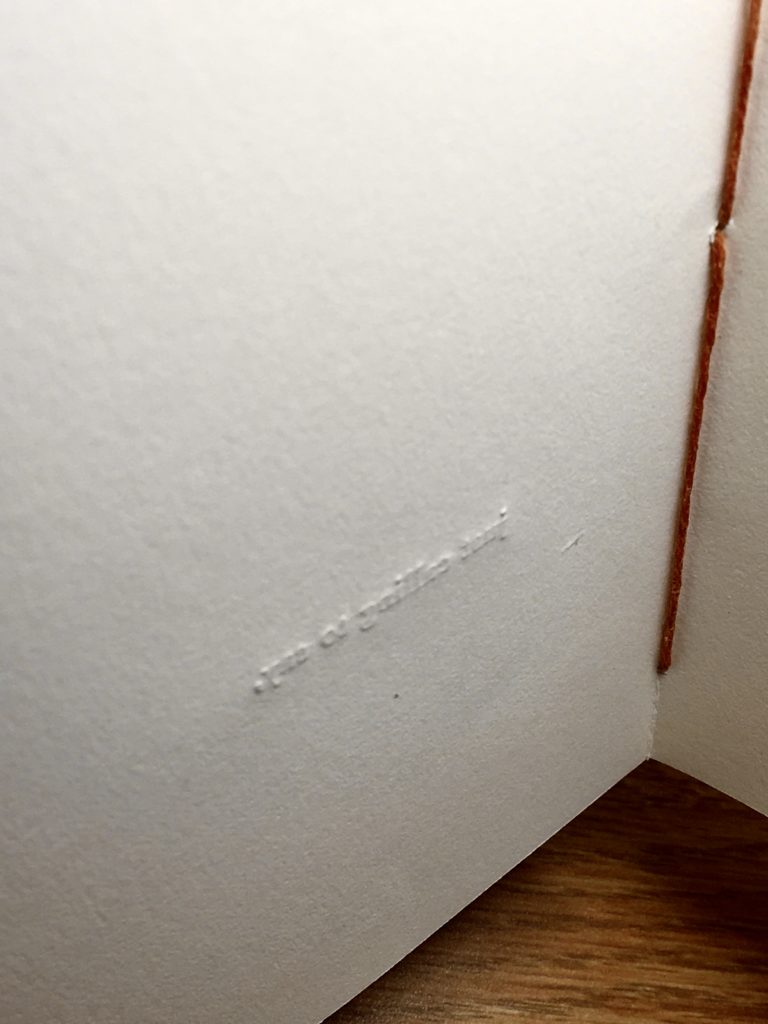
I like using smooth, thick paper, so when the press inks the type, it leaves a nice “bite” or impression into the surface
Some places you can buy paper:
- In Brooklyn and online: Talas. A brick and mortar location in Brooklyn; you should walk in with a good idea of what kind of paper you want! They have lots of options.
- Online only: French Paper co. A family owned company that often uses post-consumer material in their paper, and their factory runs on hydroelectric power so it’s also environmentally conscious!
But also, I’m a college student, so I just used the free paper Wesleyan University provides for us, which is a kind of cardstock paper in eggshell/beige.
Setting Up Type
I decided to use Bulmer font, in pt 10 size. Bulmer is a serif typeface originally designed by punchcutter William Martin around 1790 for the Shakespeare Press. It’s an old font, and influenced the now more common Baskerville font.
Bulmer is often used as a display or title font because of its high contrast and distinctive letter shapes, but as a text font, it can feel elegant. It’s not recommended for lengthy sentences, but definitely works for short phrases.
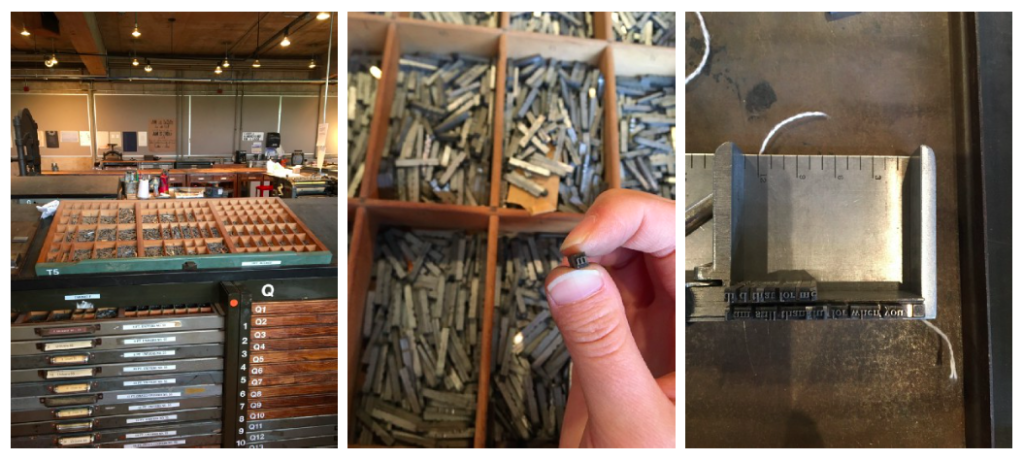
Once I finished setting up the type, I went on InDesign to draft my print.
First using a template with the pages designed for the quarto, I strategically placed my text. Indesign unfortunately does not come with a default for quarto printing, so it was necessary to use a template to ensure that it would print correctly.
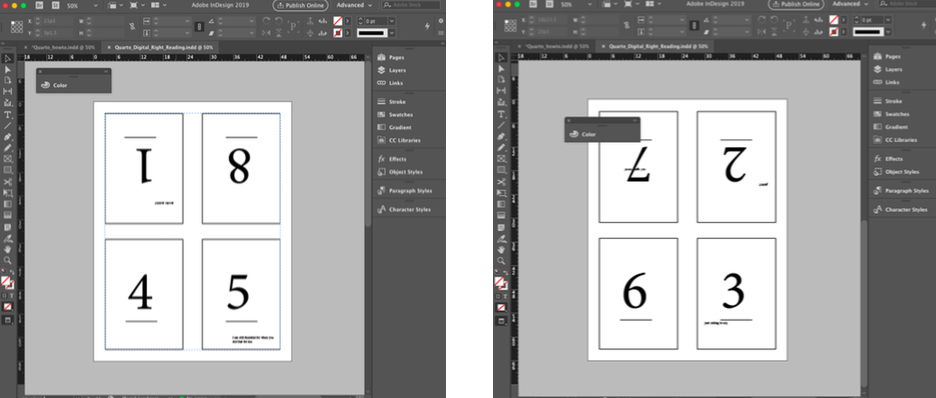
Once I completed my draft, I printed it out double-sided, and made a rough version of my booklet on printer paper. Seeing it in book form, I adjusted the location of my text again, until it was organized to my satisfaction.
Printing the Type
Using a medium-sized Vandercook press, my professor was kind enough to set up the printing blocks for us on the bed. Each 20×28 block means that it’s 20×28 picas (a unit of measure used in typography), and roughly the box the type should fit into.
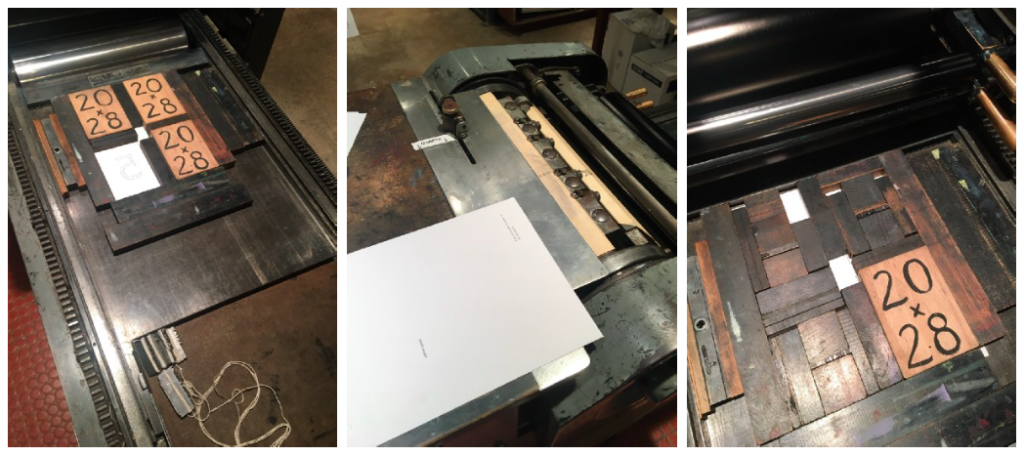
Carefully, I set up my type onto the press, using wooden furniture and reglets to fit into the empty spaces. These pieces ensure that the type, the only part actually printing, is set onto the bed so it doesn’t move.
Setting up type on the press bed is actually a bit more complicated than you might assume, because everything is mirrored. Some pages are upside down, others aren’t, and everything is mirrored, so it requires a lot of thinking and planning beforehand— this is where my drafted print came in handy!
Once I secured everything, I rolled the paper through and voila! I made a successful print. I did the same exact process for the other side, as my booklet was double-sided on some pages.
Building the Book
Once I had my double-sided printed page, it was time to build!
First, I folded the sheet twice to create 8 pages
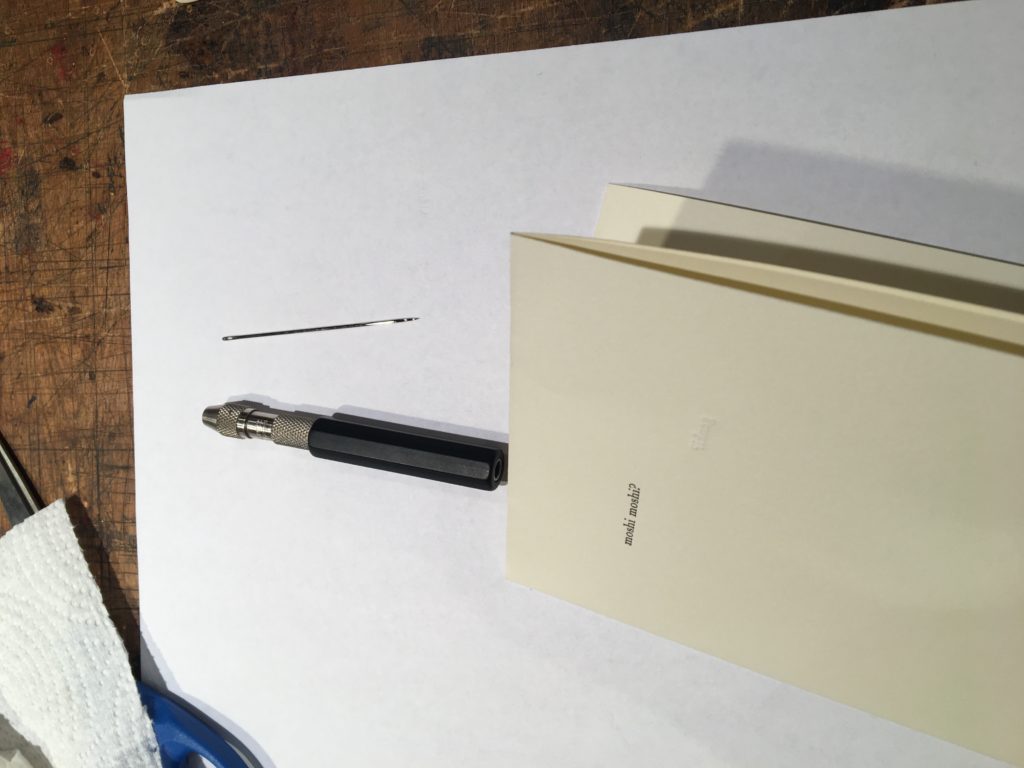
Then, I placed my folded paper on a punching cradle or trough, and used an awl (the needle) to make three holes— one in the middle, one on each side of the paper about a centimeter away from the edge.
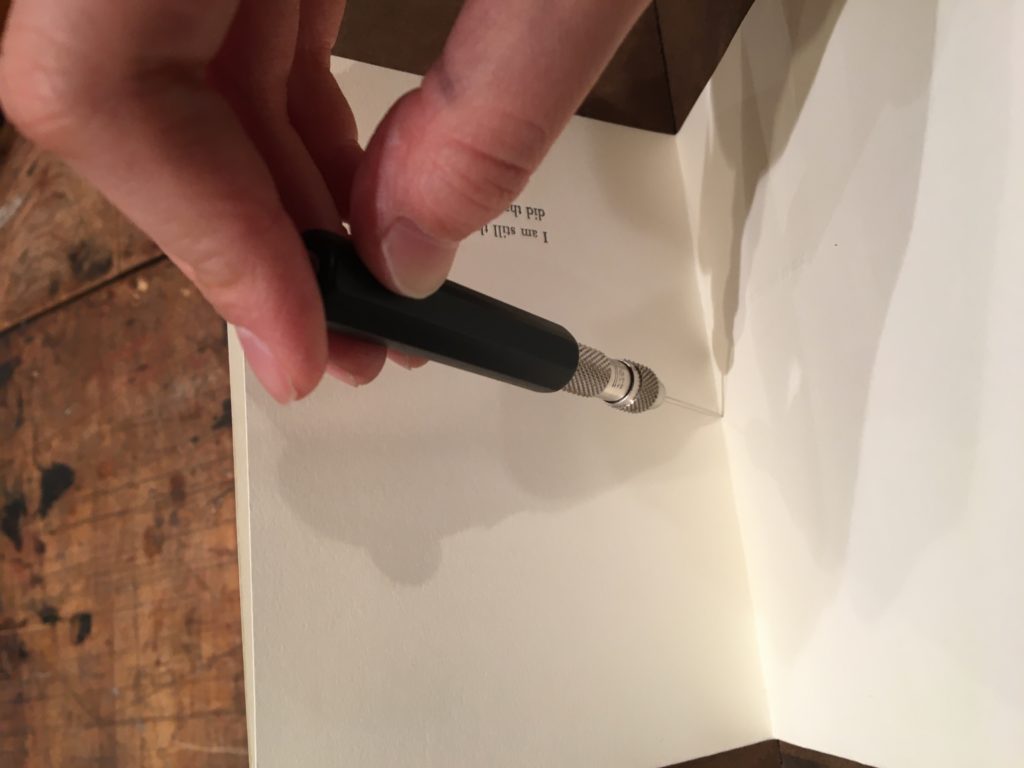
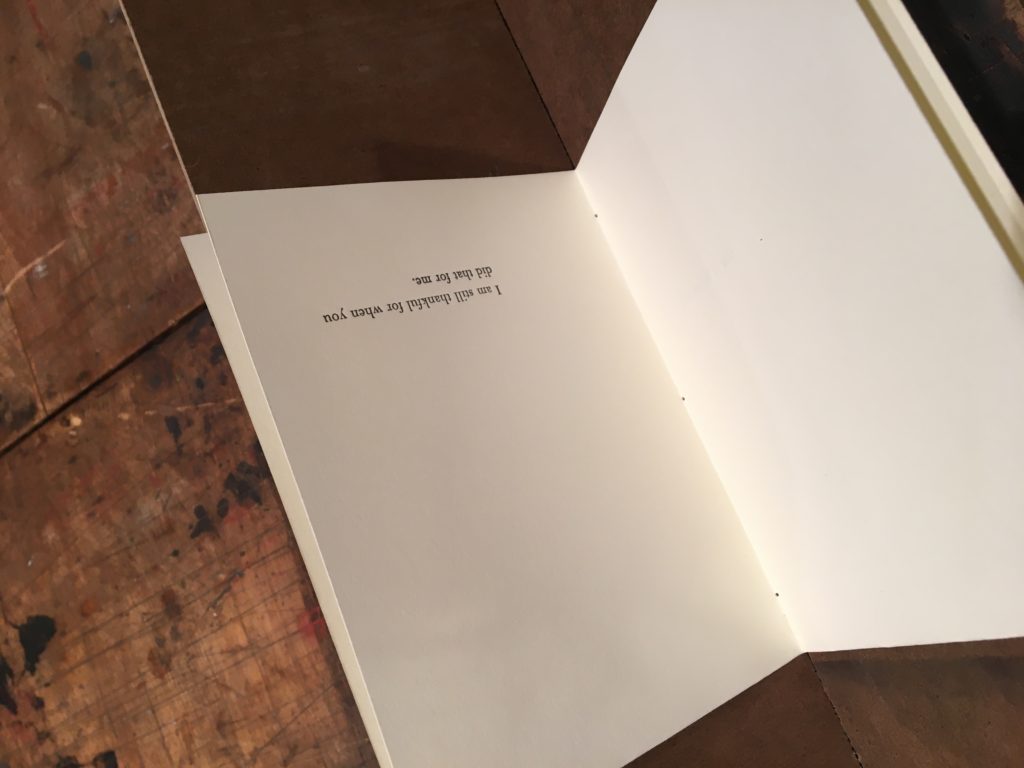
After that, I waxed some thread using a block of beeswax, and looped it through my needle.
Starting from the outside of the binding, I inserted the string, then went to the top hole and poked it through.
With the string back on the outside of the binding, I skipped the middle hole, and inserted it into the bottom hole.
Then, I poked the string back through the middle hole, but with the long string edge resting in between the two loose ends.
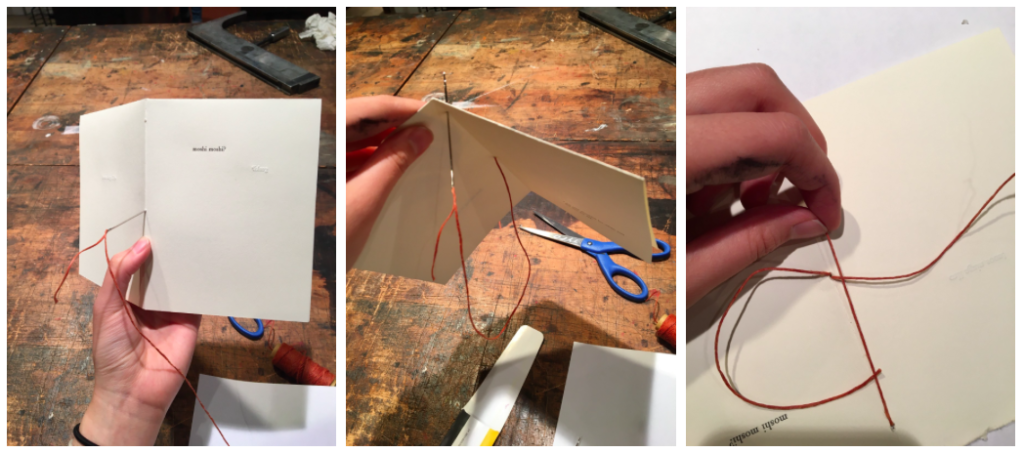
Removing the needle, I then gently tugged the loose ends in the direction they were facing, and tightened the sewing. I then made a box knot (a knot made by first tying left over right, and then right over left) to secure the threading.
Then snip off the excess string!
But we’re not done yet– the last step is to break open the fold! Because my paper was relatively thick, I wet a paper towel and gently dabbed along the top of the edge I wanted to rip. Using a bone folder, or blunt bone knife-looking object, I tore the now-softened edge (my bone folder is not real bone, but plastic).
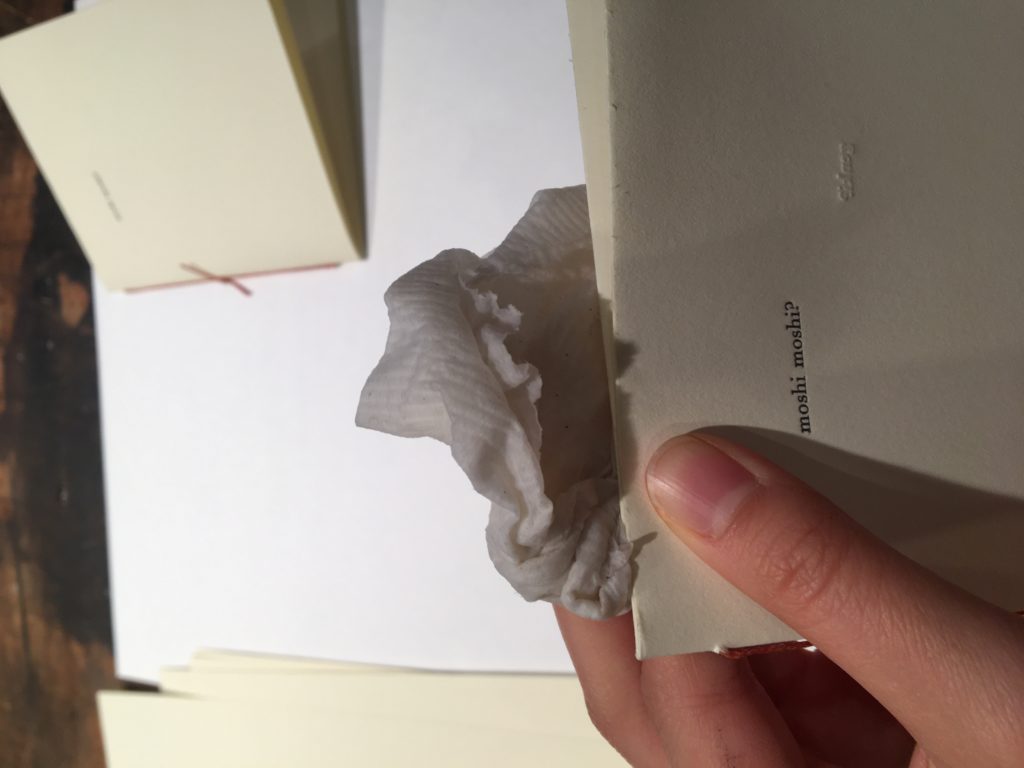
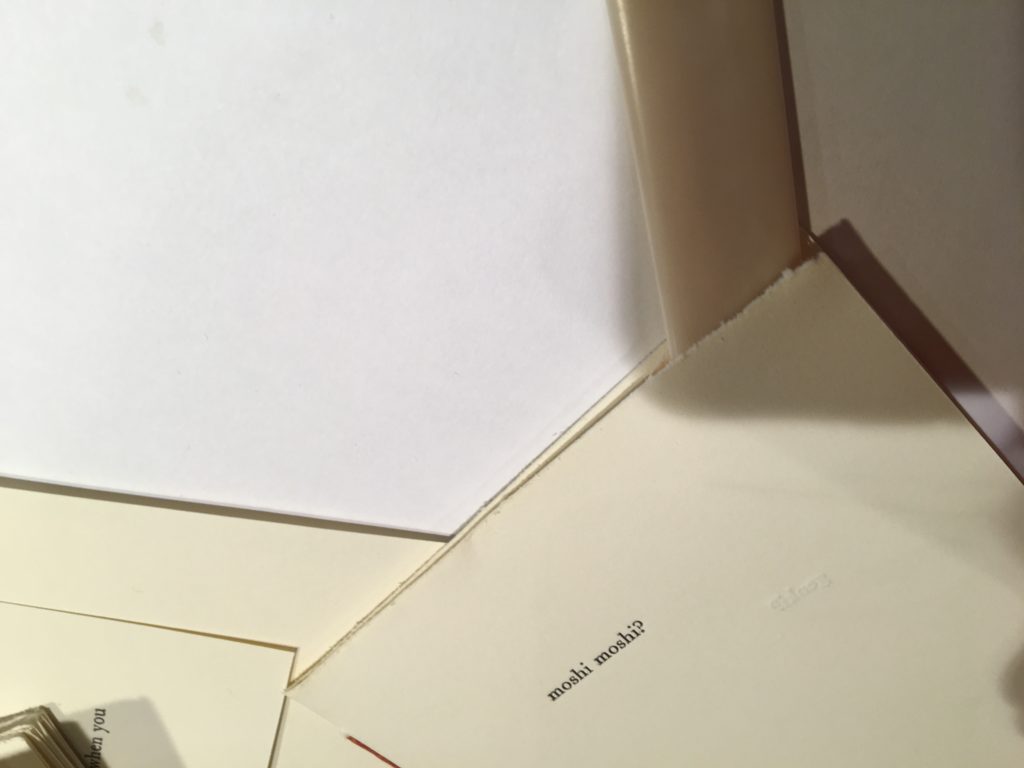
This way I could have a clean rip, that was still relatively soft on the edge compared to a cutter knife.
And that’s how you make a quarto!
Make Your Own
If you’d like a guide on how to make your own (using household tools and skipping more complicated steps, such as setting type and using a printing press), you can download instructions here: [Download Guide: How to Make a Quarto at Home]
Included in the guide:
- Materials guide
- Complete instructions with photos
- Adobe InDesign template file
- Pdf template file
Quartos make great gifts, and are sure to impress your family and friends! Relatively easy for beginners, I highly recommend trying it for the holidays.
***
If you found this interesting or of any use, let me know by emailing me at kokumura@kakikata.space! I love reading emails from people, and respond to each message.